Maintenance and Mechanics
A well-maintained bike is a joy to ride. It shifts crisply, brakes confidently and rolls with less effort, whether you’re commuting on city streets, exploring gravel paths or tackling weekend climbs. The good news is that most bicycle maintenance is well within reach of the average rider. You don’t need a fully equipped workshop or years of mechanical experience — just a few basic tools, a little patience and a willingness to get your hands slightly greasy.
This pillar page brings together the essential knowledge every cyclist should have, from daily cleaning habits to understanding how your drivetrain and brakes actually work. Whether you’ve just bought your first hybrid or you’re looking to become more self-sufficient with your road bike, the sections below will help you build a solid maintenance routine and know when it’s time to hand things over to a professional mechanic.
Why Regular Bike Maintenance Matters
Bicycles are remarkably efficient machines, but they’re also exposed to the elements. Rain, road salt, dust and mud gradually wear down chains, cables, brake pads and bearings. A neglected bike doesn’t just feel sluggish — it can become genuinely unsafe. Worn brake pads, a stretched chain or a loose headset can turn a pleasant ride into a risky one.
Regular maintenance also saves money in the long run. A chain that costs a few dollars to replace, if attended to in time, protects a cassette and chainrings that cost several times more. Think of it like changing the oil in a car: small, consistent effort prevents expensive failures.
There’s a confidence benefit too. Riders who understand their bikes are far less likely to be stranded by a flat tire or a slipped chain far from home. Basic mechanical knowledge turns a potential walk home into a five-minute roadside fix.
Essential Tools for Home Maintenance
You don’t need to buy everything at once. A modest starter kit covers the vast majority of routine tasks.
- Track pump with a pressure gauge, plus a compact hand pump or CO2 inflator for the road
- Tire levers and a patch kit or spare inner tubes
- Chain lubricant appropriate for your climate — wet lube for rainy conditions, dry lube for dusty environments
- A set of Allen (hex) keys, since most bolts on modern bikes use these
- A chain checker tool to measure chain wear accurately
- Chain breaker for removing and installing chains
- Torque wrench for carbon components and delicate bolts
- Clean rags, a brush set and degreaser for drivetrain cleaning
As your confidence grows, you can add cable cutters, a cassette lockring tool, bottom bracket tools and a work stand. A stand, in particular, transforms the experience — working on a bike at waist height beats crouching over it in a hallway.
Building a Basic Maintenance Routine
Consistency beats intensity. A simple rhythm of quick checks and occasional deeper work keeps a bike reliable year-round.
- Before every ride: squeeze the tires to check pressure, spin the wheels for trueness, and test both brakes.
- Weekly: wipe down the chain, re-lubricate if needed, and give the bike a quick visual inspection for loose bolts or damage.
- Monthly: check tire tread and sidewalls, inspect brake pads for wear, and test shifting across all gears.
- Every few months: deep-clean the drivetrain, check chain wear with a gauge, and examine cables and housing for fraying.
- Seasonally: service bearings if warranted, bleed hydraulic brakes if lever feel feels spongy, and refresh tubeless sealant if you run tubeless tires.
The Drivetrain: Your Bike’s Engine
The drivetrain — chain, cassette, chainrings, derailleurs and shifters — transfers your leg power to the rear wheel. It’s also the part of the bike that wears fastest and benefits most from regular care.
Chain Care and Wear
A chain is a consumable item. As it wears, the rollers and pins elongate the chain’s pitch, which in turn wears the cassette and chainrings to match. Replacing a chain at roughly 0.5 to 0.75 percent elongation, measured with a chain checker, preserves the more expensive components behind it. A well-lubricated, regularly wiped chain can last several thousand miles; a neglected, gritty one can be ruined in a few hundred.
Lubrication is simple: apply a drop to each roller, let it sit for a minute, then wipe off the excess with a rag. The lube should be inside the chain, not coating the outside where it collects dirt.
Shifting and Derailleur Adjustment
If shifting feels vague or noisy, the cause is usually one of three things: cable tension, a bent derailleur hanger, or a worn drivetrain. Start with the barrel adjuster — turning it counterclockwise usually tightens cable tension and cures slow upshifts. If the derailleur looks visibly out of line with the cassette cogs, the hanger may be bent, often from the bike falling over. Hanger alignment tools exist, but this is also a quick fix at most bike shops.
Cleanliness Is Performance
A clean drivetrain isn’t just about aesthetics. Grit suspended in old lubricant acts like grinding paste, accelerating wear on every component it touches. Degreasing the chain and cassette, letting them dry and reapplying fresh lube is one of the highest-return tasks in all of bike maintenance.
Brakes: Stopping Power You Can Trust
Modern bikes use either rim brakes or disc brakes, and each has its own maintenance rhythm.
Rim Brakes
Check brake pads for wear lines and glazing, and make sure they strike the rim squarely without touching the tire. Pads are cheap and easy to replace. Also watch for rim wear — deep grooves or a concave braking surface on the rim mean it’s time for a wheel replacement.
Disc Brakes
Disc brakes come in mechanical (cable-actuated) and hydraulic versions. Mechanical discs need cable maintenance like rim brakes. Hydraulic systems feel consistently sharp but require occasional bleeding to remove air bubbles from the fluid. Pads wear faster in muddy or wet conditions and should be replaced before the backing plate is exposed.
Two golden rules with discs: never touch the rotor or pads with your fingers, since skin oils contaminate braking surfaces, and always use the correct pad compound for your riding — organic pads for quiet, dry riding; sintered pads for wet weather and longevity.
A Quick Brake Check
- Levers should feel firm and engage before reaching the handlebar.
- Pads should have visible braking material remaining.
- Rotors should be free of scoring, wobbling and contamination.
- Nothing should rub when the wheel spins freely.
Wheels and Tires: Where the Rubber Meets the Road
Tires are your only contact with the ground, and they deserve more attention than they usually get.
Pressure and Punctures
Underinflated tires pinch-flat easily and roll slowly; overinflated tires transmit every crack and bounce. Recommended pressure ranges are printed on most tire sidewalls, and many riders today run slightly lower pressures than they once did for better comfort and grip. Check pressure before most rides — tires naturally lose air over days.
Fixing a flat is the single most valuable roadside skill. Practice at home: remove the wheel, lever off the tire, find the cause, fit a new tube or patch the old one, and reseat the bead carefully before fully inflating. Ten minutes of practice in your living room saves an hour of frustration on the roadside.
Wheel Trueness and Bearings
Spin each wheel and watch the gap between rim (or rotor) and brake. A slight wobble can often be corrected with small adjustments at the spoke nipples using a spoke wrench. Larger wobbles or loose spokes warrant a visit to a shop. Hub bearings should spin silently and smoothly; grinding or play indicates a service is due.
Knowing Your Limits: When to See a Mechanic
Home maintenance has limits, and recognizing them is a mark of a smart rider, not an unskilled one.
- Cracked or damaged frames, forks or handlebars — carbon especially requires expert inspection
- Press-fit bottom bracket and headset bearing replacement without the proper tools
- Hydraulic brake bleeds if you’re not confident, and any work involving brake fluid
- Wheel building and major re-truing
- Anything that makes you hesitate — doubt is a signal worth respecting on safety-critical components
Consider an annual professional tune-up as a complement to your home routine. Many shops also run maintenance clinics, which are a great way to pick up hands-on skills with proper tools and guidance.
Frequently Asked Questions
How often should I clean and lube my chain?
It depends on conditions. Dry, clean roads might require attention every couple of weeks; wet or muddy rides call for cleaning after each outing. The rule of thumb: if the chain looks dry or sounds squeaky, it’s time.
What’s the most commonly overlooked maintenance task?
Tire pressure. Riders routinely underestimate how quickly tires lose air and how much performance and puncture resistance improve at the right pressure.
Can I use WD-40 as chain lube?
No. WD-40 is a water displacer and light solvent, not a proper lubricant. It can actually strip the lube already inside your chain. Use a dedicated bicycle chain lubricant.
How long should a bike chain last?
With regular cleaning and lubrication, chains often last well over two thousand miles. Without care, they can wear out in a fraction of that. Measure with a chain checker rather than guessing by feel.
Start Small, Ride Further
Bike maintenance rewards curiosity. Start with the basics — tires, chain and brakes — and let your skills grow naturally from there. Every task you learn to do yourself makes you a more capable, confident and independent cyclist, and your bike will thank you with miles of smooth, trouble-free riding.
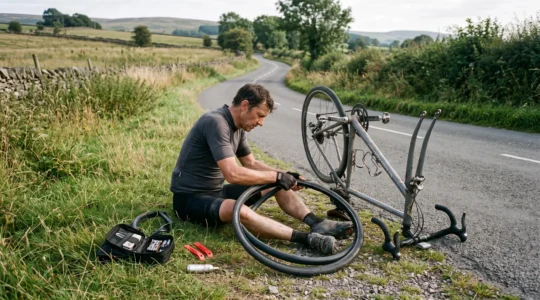
Which Bike Repair Kit Essentials Prevent a 20 km Walk Home on Weekend Rides
A puncture twenty kilometres from home exposes the difference between carrying tools and carrying the right tools. A multi-tool can tighten a loose saddle or adjust a component, but it cannot inflate a flat tire. A spare tube is equally…
Lire la suite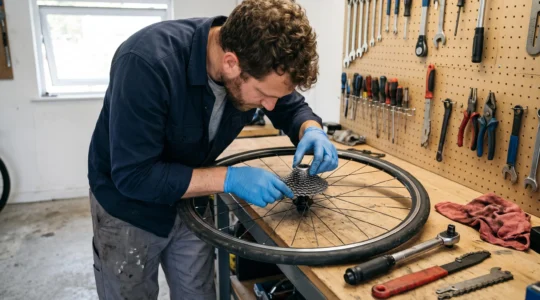
How to Replace a Cassette Without Buying the Wrong Freehub or Cog Range
Replacing a bicycle cassette is straightforward only after confirming that the replacement fits the freehub, works with the existing drivetrain and stays within the rear derailleur’s capacity. A cassette advertised as 11-speed or 12-speed is not automatically compatible with every…
Lire la suite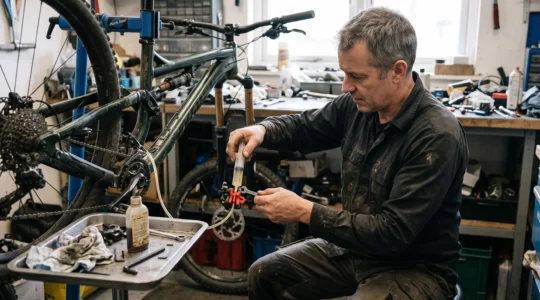
How to Flush Mineral Oil Brakes Without the Spongy Lever Coming Back a Week Later
A hydraulic brake lever that feels firm immediately after bleeding but turns spongy again a week later is telling you something important: the original problem may not have been completely resolved. Trapped air, an improperly seated hose connection, inconsistent caliper…
Lire la suite